
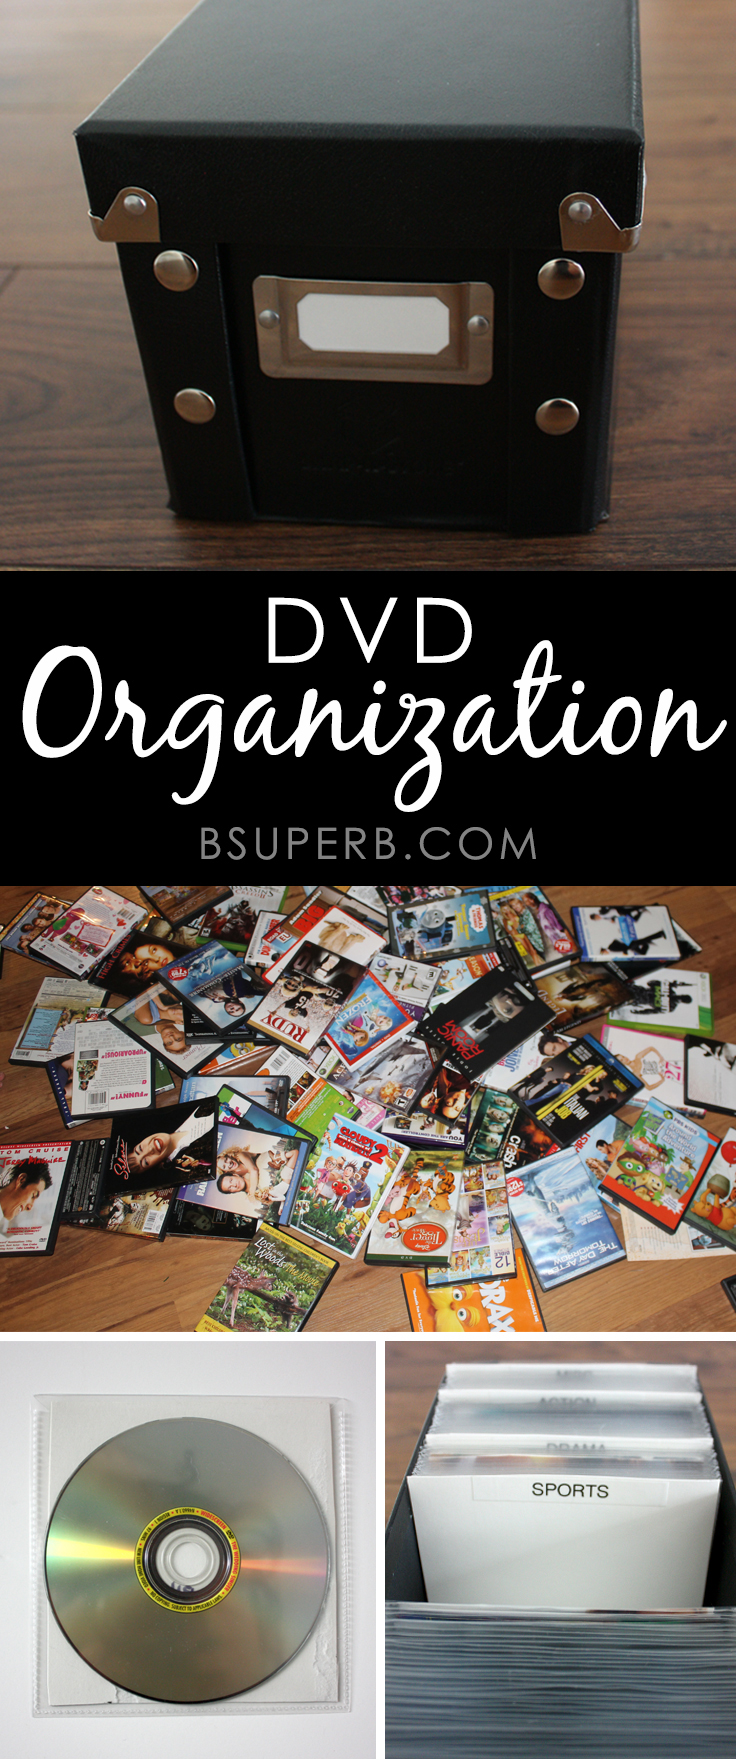
How many of you still own a pile of DVDs? With online streaming how long do you think it will be until DVDs become obsolete? Do you think our kids will laugh at us when we are older and talk about DVDs like our parents talk about 8 track tapes (or VHS for that matter)? Ok, this is getting a little too philosophical. I’m not sure how long DVDs will remain relevant, but I do know that I don’t plan on tossing them out any time soon. However, the biggest downfall of DVDs and Blu-Ray discs are how much space they take up. We are talking an entire bookshelf! I just don’t have that type of real estate in my house to devote to a declining trend. So I decided to rip all the DVDs off the shelf and combine them into ONE little box. And it felt great. Here is how I did it and the products I used to complete the project.
(this post contains affiliate links)
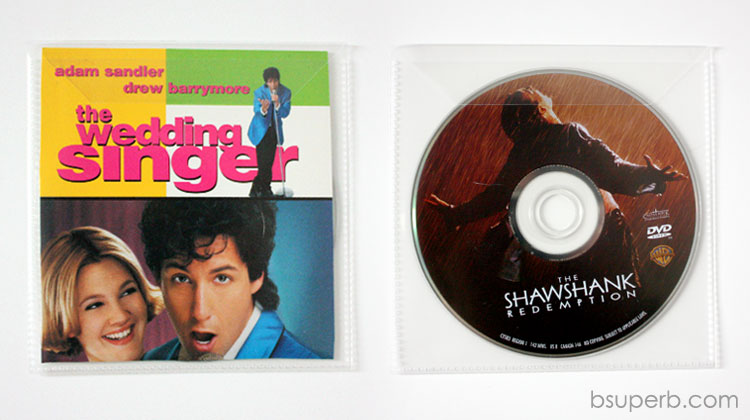
Start by taking out all of the DVDs and placing them in plastic sleeves. I ordered a pack of these DVD Clear Plastic Sleeves and they worked great. When I first started tackling this project I had a hard time letting go of the DVD cases and cover art so I started slipping out the piece of paper in the DVD covers and cut a square that would slide into the sleeve; you can see the example shown above on the Wedding Singer DVD. This seems like a good idea on the first five DVDs, but it quickly became very time consuming and daunting to look at the huge pile of movies. I started noticing that most of the DVDs had the title right on the disc itself, so I stopped cutting apart the covers and just tossed them out.
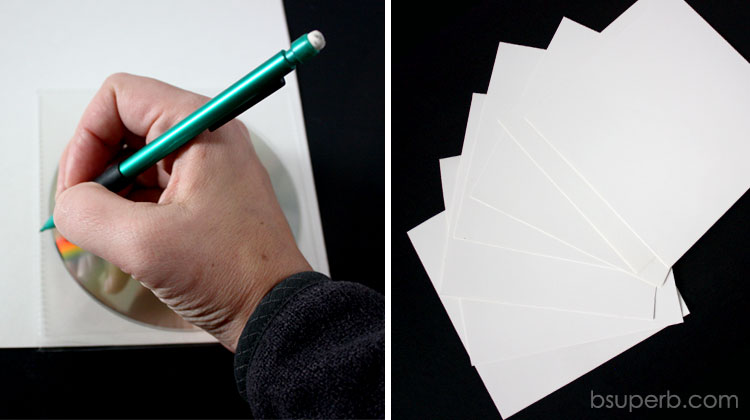
Another one my of fears of having my DVDs stored in a box was not ever being able to find the DVD I was looking for. To help with this problem I created dividers for each genre of movies. I took a piece of white tag board and traced the plastic sleeve so I knew what size to cut it. Cut out pieces for each divider you plan on making.
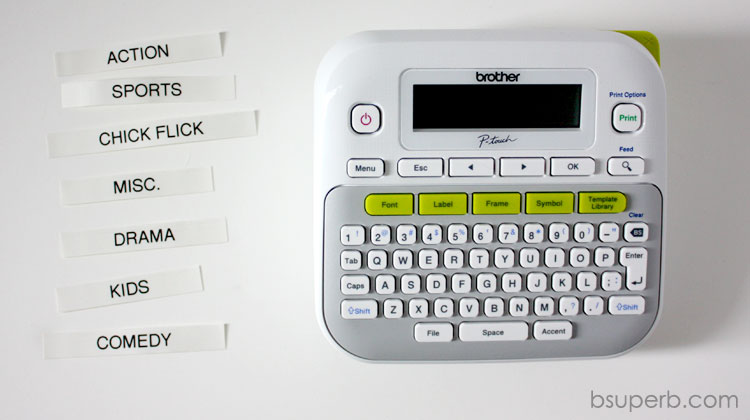
Next I took my handy dandy Label Maker and created labels for all of the dividers. A label maker is a fun little tool to have around the house, it is great for organizing and well…labeling! I did a whole new filing system for papers and the label maker was the key to my success, it made it all look so clean and put-together.
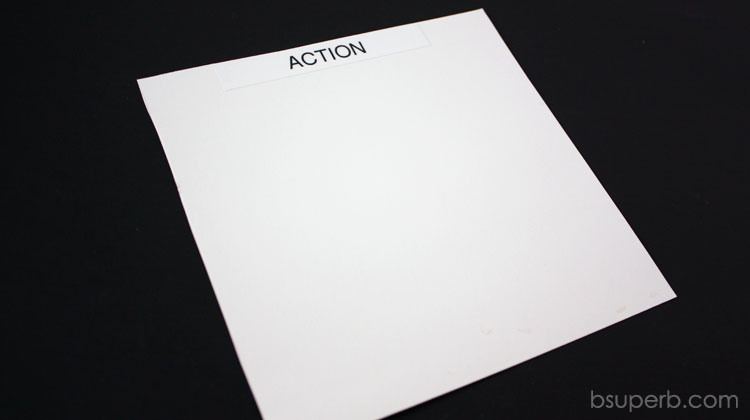
Place the label at the top of each divider (or obviously, hand writing each movie genre would work just fine too).
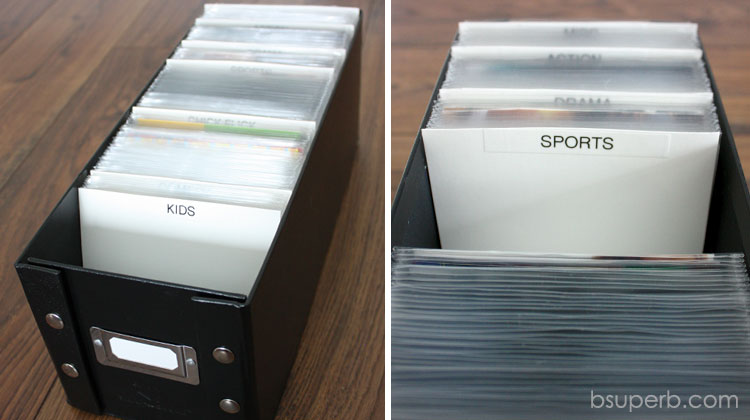
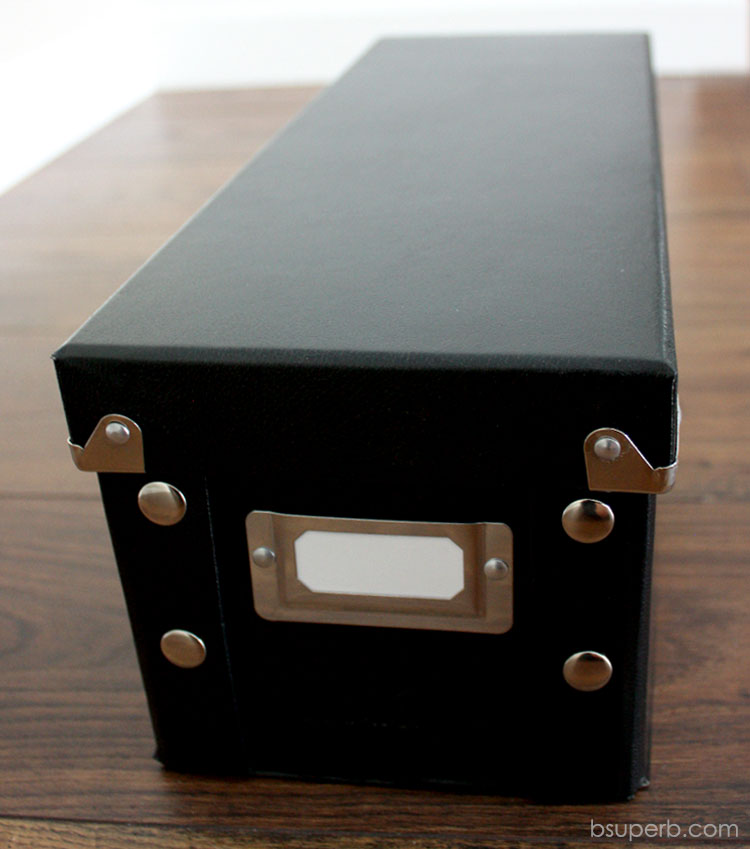
Next just place all the DVDs in a CD Storage Box, I picked this box because you can’t beat that price! You just snap it together to assemble it which made me leary, but it has held up very nicely even with a large amount of DVDs in the box. Place all the dividers and DVDs in the appropriate places. If you want to get crazy you could even alphabetize the DVDs within each category. I haven’t done that with mine and it still is very easy to flip through the movies to find the one I am looking for.
I can’t tell you how amazing it feels to clear some of the clutter and downsize our DVD collection to just this one box. I was a little nervous to toss out all of the DVD cases because I thought I’d miss seeing the cover or reading the back of the cases, and in reality I haven’t missed the cases for a second. And if you own the DVD, do you really need to be able to read the back of the case? My guess is you already know all there is to know about the movie. I’d highly recommend taking the plunge and decluttering your DVD collection!
(If you like it, pin it!)


It’s funny that you posted this, we literally just went through our DVD collection this past weekend! My husband said he didn’t want to get rid of them “in case the government decided the internet should be banned” and we couldn’t stream anything lol I thought I could sell them in some Facebook groups but absolutely no one wanted them!
Thanks for sharing this! We have this same DVD problem area in our house. Our collection has overflowed the plastic storage container we currently use. I love the box you chose. It is very stylish and would much better on my bookshelf!