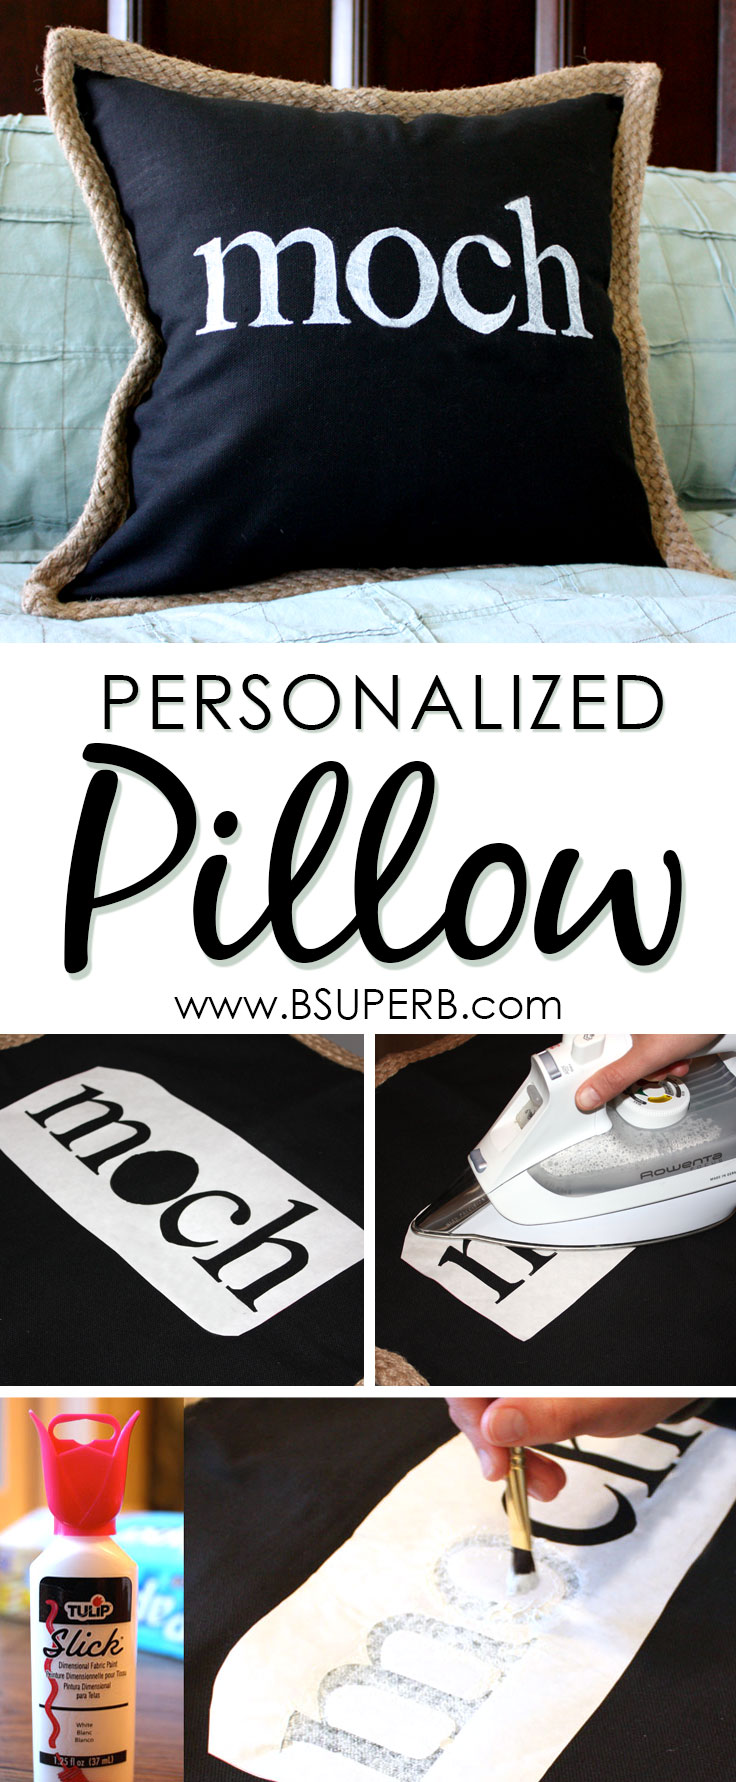
Personalized items add so much charm and personality to a house. But buying personalized items and gifts can cost a pretty penny, and by doing it yourself it makes it that much more meaningful. Follow along and try out this project for your next craft night. Who knew you could get so crafty with freezer paper?
Materials Needed:
- Cloth Pillowcase
- Freezer Paper
- Injet Printer
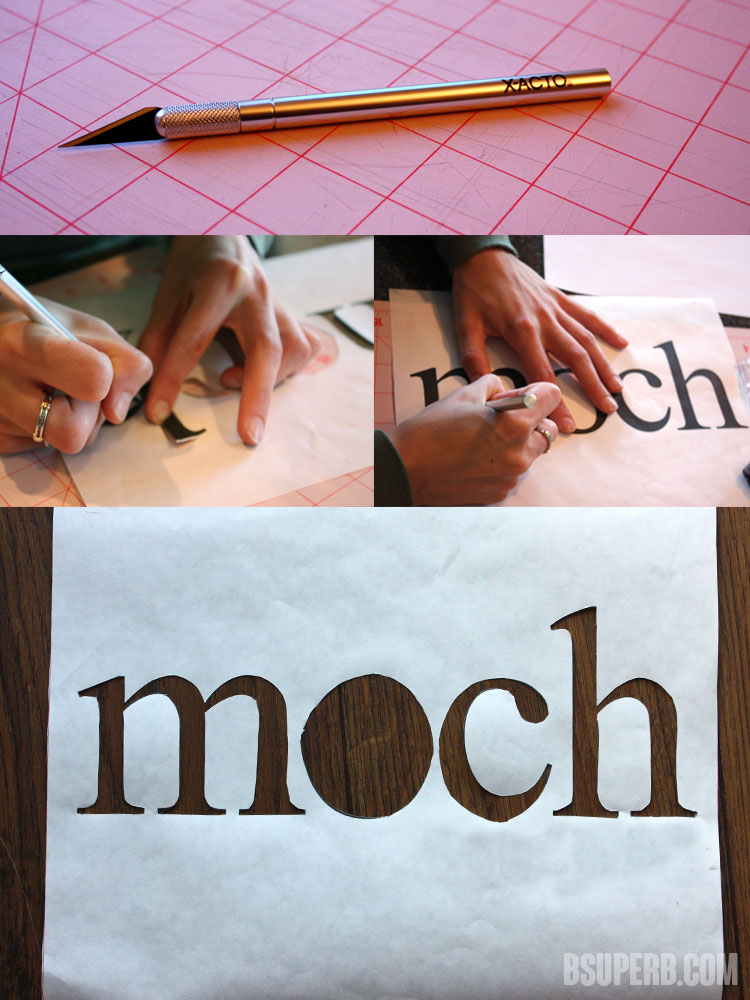
- Xacto Knife
- Iron
- Fabric Paint
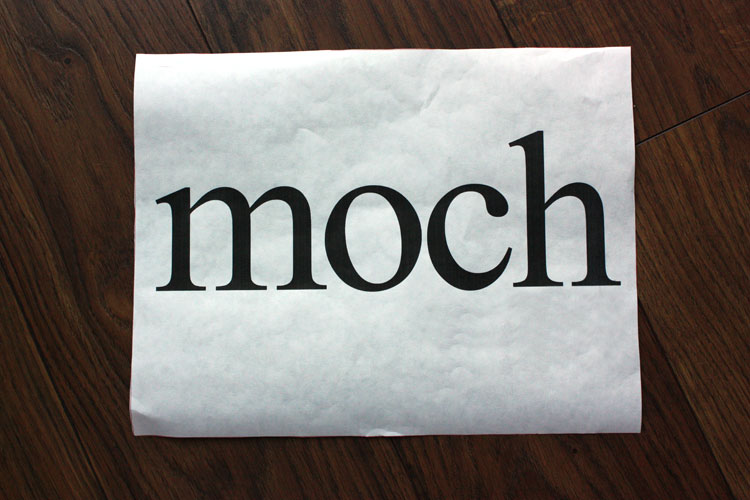
Trace an 8.5×11” sheet of paper on the freezer paper, and then cut along the lines. You are cutting the freezer paper so that it will fit through an inkjet printer.

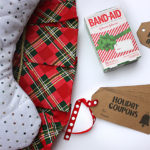
Get your design ready to be printed. The ink color of the design does not matter, you are just using the freezer paper as a stencil (but I’d recommend black ink…it’s easy to see and you don’t have to waste the color ink). Note: you will be cutting out the design with an xacto knife, so depending on how steady your hand is try not to make the design too intricate so that it is too hard to cut out.
Print the design on the dull side of the freezer paper.
Use an xacto knife to cut out the design to make the stencil. You will be discarding all the black lettering, but be sure to keep the insides of the letters (for example, I didn’t throw away the inside of my “O”)
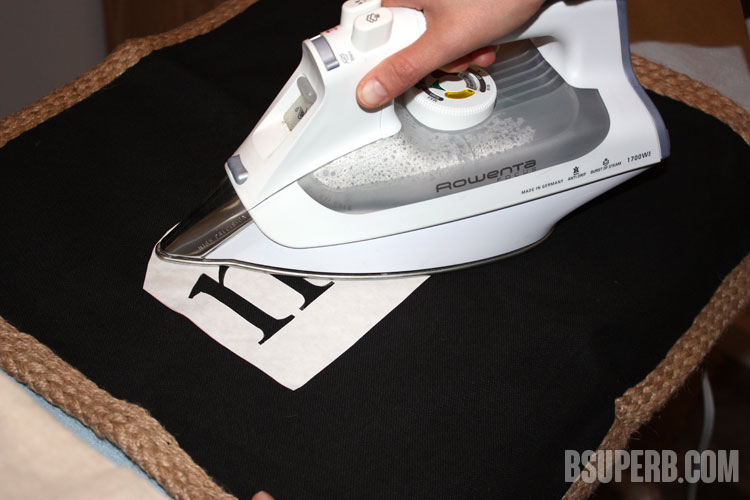
Place the freezer paper stencil where you would like it placed on the pillowcase.

Use an iron on a hot setting (I used the cotton setting) and slowly start ironing the freezer paper. Try to make sure the edges of all the letters are really stuck down.
Now that the main stencil is ironed down in the correct spot, place any inside letters where they need to go and use the iron to stick them down (for example, this is where I carefully place the inside of the “O”)
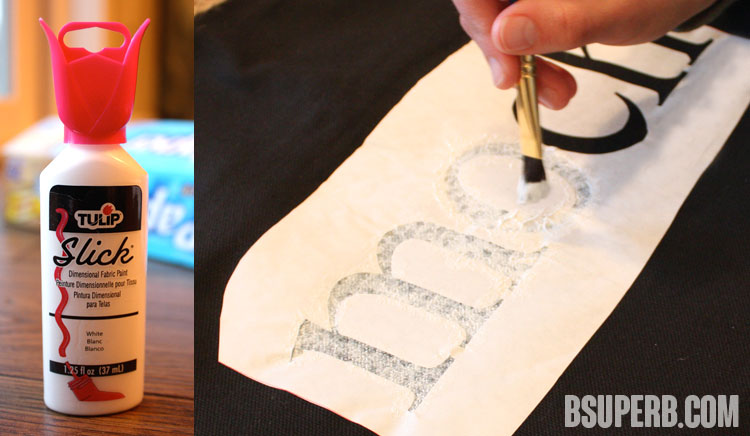
Use fabric paint to paint inside of the stencil. I typically go with a “dabbing” motion because I don’t want the brush to lift up the edges of the letters. Add a second coat if you want fuller coverage.
Let dry. Slowly and carefully peel off the freezer paper.
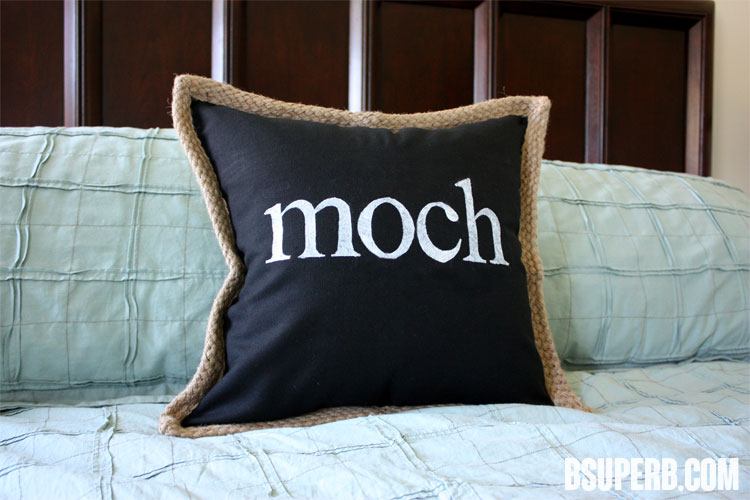
Ta-da! It’s that easy!
(If you like it, pin it!)